
A short video for all of you curious on how a pine needle basket is made :).
Of course I am still a beginner and the baskets are always a little imperfect but nevertheless the process is very enjoyable.
If you can get your hands on some needles than give it a go!
Is adding handles to the basket optional or required?
Introduction:
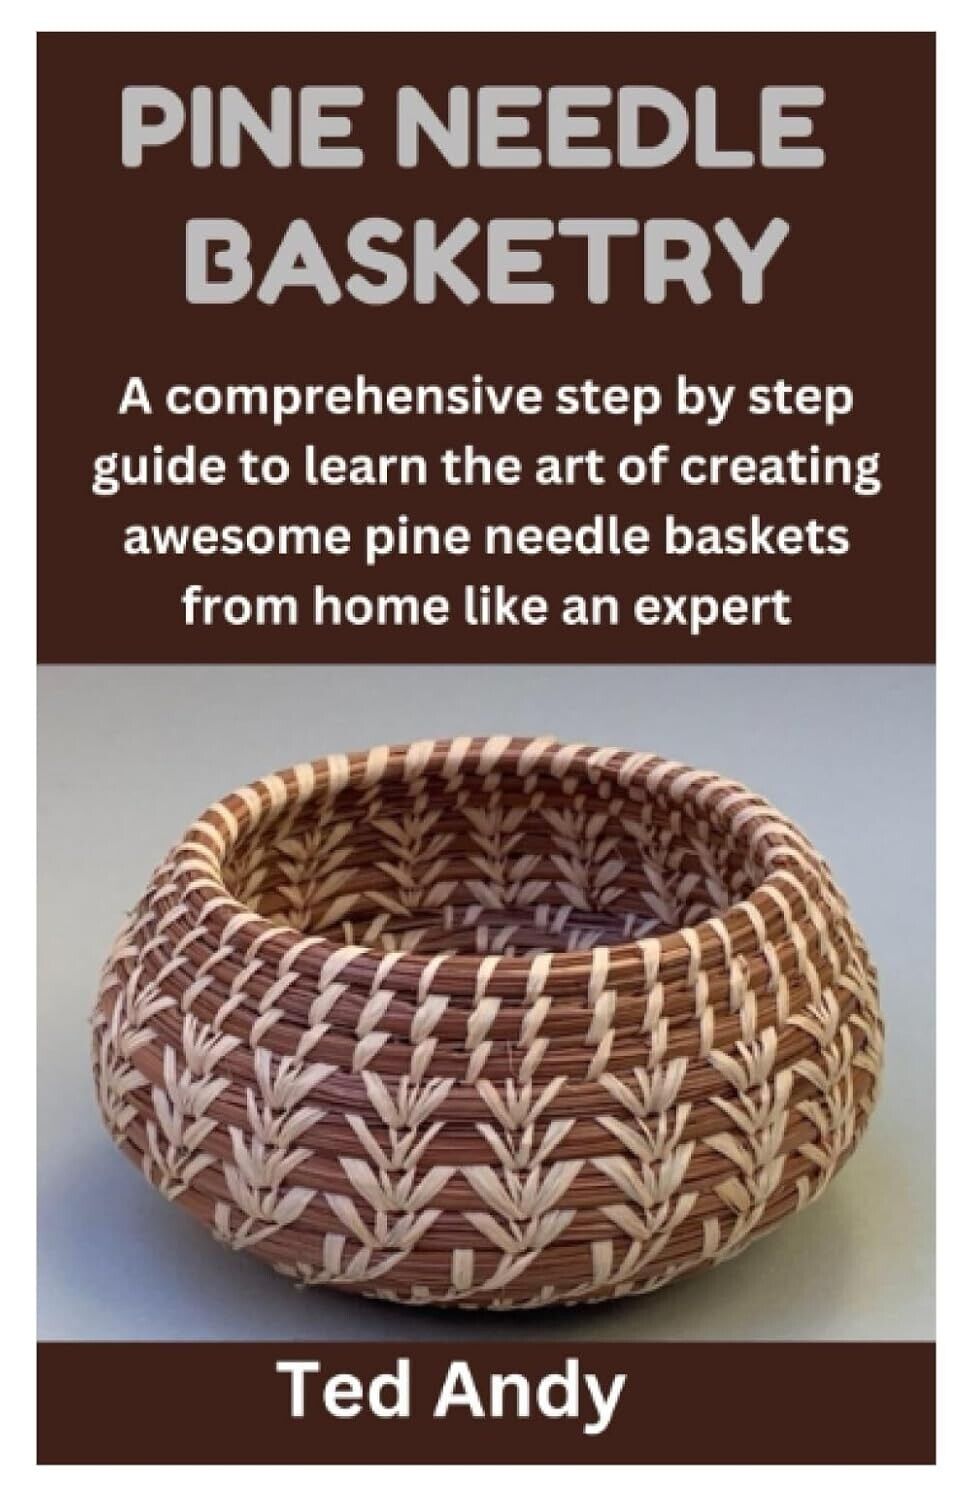
Pine needles are a common forest resource that can be transformed into beautiful and useful items. One such item is a basket. Making a basket from pine needles is a rewarding and enjoyable project that can be completed by anyone with a little patience and creativity. In this article, we will guide you through the step-by-step process of making a basket from pine needles.
Materials Needed:
– Pine needles
– Thread or waxed linen cord
– Scissors
– Tapestry needle
– Ruler
Step 1: Preparing the Pine Needles
The first step in making a pine needle basket is to collect and prepare the needles. Choose fresh needles as they are more pliable and easier to work with. Separate the needles into similar sizes and remove any remaining bark. You can do this by gently running your nails over each needle or scraping them with a knife. Once clean, soak the needles in warm water for 30 minutes to make them more flexible.
Step 2: Starting the Base
To start the base of the basket, take three pine needles of the same size and twist them together. Then create a circle with the twisted needles, making sure the needles are tightly packed. Use a tapestry needle and thread to sew the ends of the pine needles together. Repeat this process until the base of the basket is the desired size.
Step 3: Building the Sides
Once the base is complete, it’s time to start building the sides of the basket. Take a single pine needle and attach it to the base circle with thread. Then, using an over-under weaving technique, continue to add more pine needles around the circle. Keep the needles tightly packed and gradually increase the length of the needles as you weave upwards. To create a design, you can alternate colors or sizes of the needles.
Step 4: Adding Handles (Optional)
If you want to add handles, you can do so midway through weaving the sides. Take two long pine needles and fold them in half. Attach the folded end to the inside of the basket using strong thread. Then weave the needles through the basket wall, making sure they are tightly secured.
Step 5: Finishing Touches
Once you reach the desired height for your basket, cut the pine needles and secure the ends with a knot. Use a pair of scissors to trim any excess thread and tuck the ends into the woven pine needles. The basket can be left as is or you can add a finishing touch by applying a coat of wax to give it a glossy finish.
Conclusion:
Making baskets from pine needles is both an ancient and modern art form. The process can take time and patience, but the end result is a beautiful and functional item that can be used for many years to come. With a little creativity and imagination, you can make unique and personalized baskets that are perfect for gifting, decoration or storage. So, next time you find yourself surrounded by pine needles, remember that they can be turned into something beautiful!


Iguana chased by killer snakes
Super Cool DIY Tiny House With HUGE Movie Theatre Loft
Deadliest Journeys – Papua New Guinea
Bullet Ant Gloves
ACKEE Fruit : Trying the Notoriously Delicious Fruit in JAMAICA (& Susumba Fruit Review + Recipe)