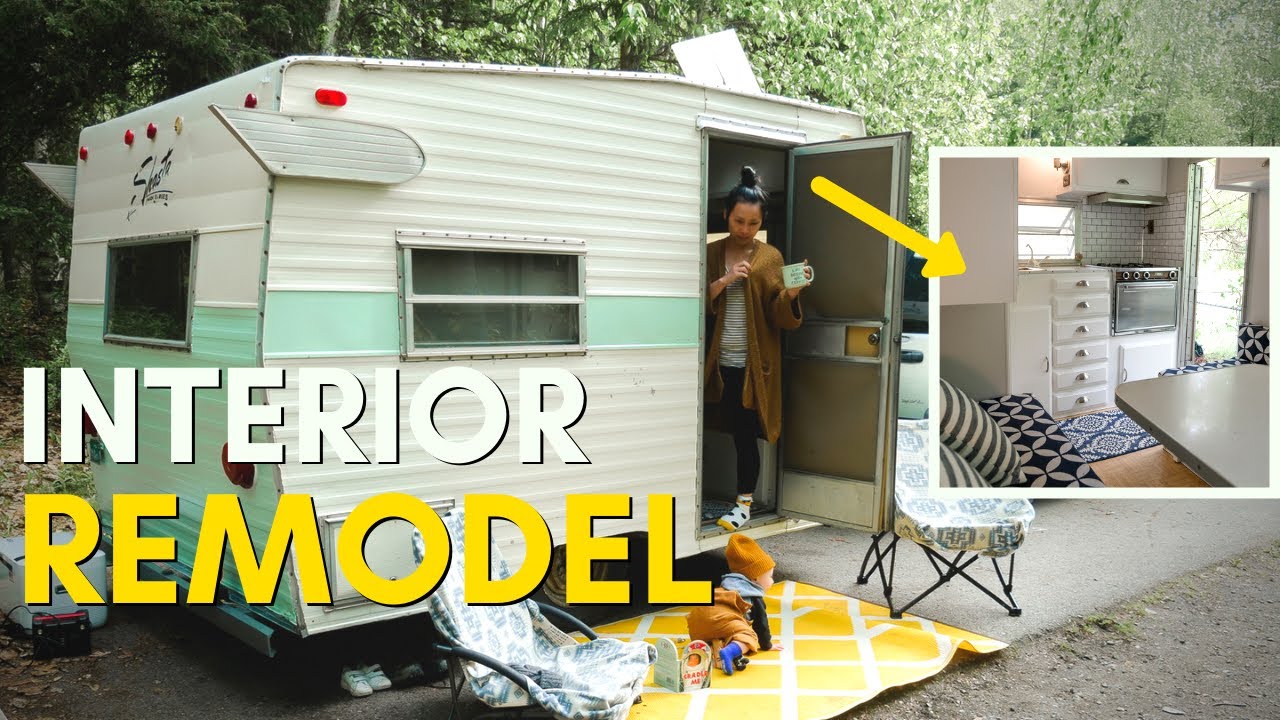
Join us as we take a dark, dingy, 10 foot box, and turn it into a light, airy, 10 foot home away from home.
We will be sharing some simple camper makeover ideas that will help you complete your camper renovation on a budget. This 13 foot Shasta Compact Trailer was such a fun vintage trailer remodel and it is easy enough for anyone to do!
What are some budget-friendly lighting options for a small vintage trailer renovation?
Small Vintage Trailer Renovated ON A BUDGET: Step by Step!
With the growing popularity of tiny homes and nomadic lifestyles, small vintage trailers have become a sought-after option for those looking to live minimally and adventurously. However, many people are deterred by the high costs of purchasing and renovating a vintage trailer. It is possible, however, to renovate one on a budget! Here are some step-by-step tips on how to renovate a small vintage trailer without breaking the bank.
Step 1: Find a Trailer
The first step is to find a trailer that is in need of renovation. Look for vintage trailers that are in decent condition but may need a little work. Check local classified ads, online marketplaces, and RV dealerships. Be sure to thoroughly inspect the trailer before purchasing it to ensure that it is structurally sound and has no major issues that will require expensive repairs.
Step 2: Create a Design Plan
Decide on a design plan that fits your budget and lifestyle. Look for inspiration online or in RV magazines, and make a list of the materials and supplies you will need. Keep in mind that the goal is to keep costs as low as possible, so prioritize your needs over your wants.
Step 3: Clean and Prep
Once you have your trailer and design plan in place, it’s time to clean and prep the trailer for renovation. Start by removing any furniture, fixtures, or appliances that you won’t be keeping. Next, clean the interior thoroughly with soap and water. Be sure to also inspect and repair any leaks or water damage.
Step 4: Paint and Flooring
Give the interior a fresh coat of paint to brighten it up and make it feel new again. Choose a paint color that complements your design plan. For flooring, opt for affordable options such as vinyl plank or laminate, which are easy to install and maintain.
Step 5: Cabinets and Countertops
If the existing cabinets are in good condition, refinish them with a fresh coat of paint or stain. For countertops, consider using a budget-friendly product such as laminate. This material comes in a variety of colors and patterns and is easy to install.
Step 6: Upholstery and Curtains
Upcycle existing furniture by reupholstering them with budget-friendly fabrics. Create custom curtains to add a personal touch and tie the design plan together.
Step 7: Lighting and Accessories
Add functional and decorative lighting using affordable options such as LED string lights or battery-operated lamps. Accessories such as throw pillows, rugs, and wall art can add character and warmth to your trailer.
Renovating a small vintage trailer on a budget requires careful planning, hard work, and a lot of DIY skills. With these step-by-step tips, you can achieve your dream of owning a vintage trailer without breaking the bank. Get creative and have fun with the process, and soon you’ll be living on the road in style!


How COVID-19 Is Changing US Army Boot Camp
The Richest Person In Dubai
The Oldest Fast Food Restaurant in London’s East End
Top 5 Amazing Aircraft Carrier Landings
I need a doctor // Struggles of Off-Grid Living