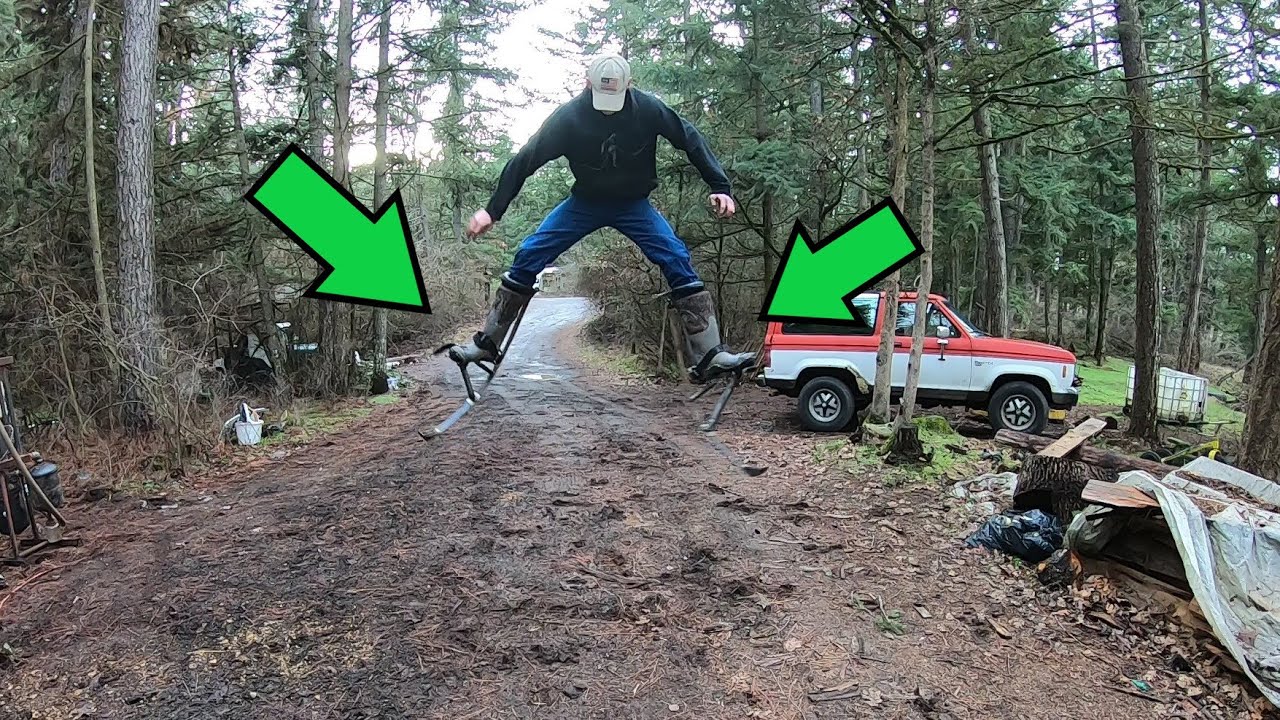
This video walks you through the process of how I built my homemade jump stilts.
While they aren’t made from scrap this time, they are however made of whatever I could find around my place.
I decided to share these instructions with you because when doing my research, I couldn’t find anyone that had made anything close to a “real pair” of these things. This is only an attempt and many improvements can be made. I hope you enjoy the video regardless and maybe take some inspiration to make something like this for yourself. It’s definitely much cheaper to make them than it is to buy them!
*Disclaimer: We are not responsible for any injury or damage to people or property associated with the making or the usage of this project.*
How can one gradually increase the intensity of their jumps to build confidence in using the jump stilts?
Jump stilts, also known as powerbocks, are a fun and exciting way to experience the thrill of jumping and running. Unfortunately, they can also be quite costly, with some models costing hundreds of dollars. However, with a little bit of know-how and some basic tools and materials, it is possible to build a pair of fully-functional jump stilts from scratch for under $50. In this article, we will outline the steps necessary to build your own pair of jump stilts.
Step 1: Materials
To build your own jump stilts, you will need the following materials:
– Two pieces of square aluminum tubing, each about 36 inches long and 1 1/4 inches wide
– Four pieces of steel pipe or threaded rod, each about 8 to 10 inches long
– Two knee pads or similar foam-based knee protectors with straps that can be used to attach the rods to your legs
– Four small metal U-bolts and associated nuts and bolts
– Four springs, each with a minimum weight capacity of 150 pounds
Step 2: Assembly
1. Begin by shaping the square aluminum tubing so that each end is rounded to prevent sharp edges from digging into your legs. A belt sander or grinding wheel can be used for this purpose.
2. Drill a hole into the bottom of each piece of aluminum tubing, approximately 2 inches from the bottom. The hole should be just large enough to fit the steel pipe or threaded rod that will be used to attach the springs.
3. Using the U-bolts, attach the knee pads to the top of the aluminum tubing. The U-bolts should be placed so that they line up with the holes drilled in the previous step.
4. Thread the steel pipe or threaded rod through the holes in the bottom of each piece of aluminum tubing.
5. Attach the springs to the steel pipe or threaded rod using hooks or other fasteners. The springs should be attached in a way that allows them to stretch when you jump.
6. Finally, adjust the length of the steel pipe or threaded rod so that the jump stilts are the appropriate height for your legs. This can be done by cutting the rods to size and then welding or threading the ends to fit.
Step 3: Testing
Before testing your new jump stilts, be sure to wear appropriate safety gear, including a helmet and knee pads. Start by standing on a flat, firm surface and slowly bouncing up and down to get a feel for the stilts. Gradually increase the intensity of your jumps until you begin to feel confident in your ability to control the stilts. Over time, with practice, you will be able to run and jump with ease.
In conclusion, building your own jump stilts can be a fun and rewarding project that allows you to experience the thrill of jumping and running without breaking the bank. With a little bit of effort and creativity, you can create a highly functional set of jump stilts that can provide hours of entertainment and exercise. So roll up your sleeves and get started on this exciting DIY project!


Milan Fashion Week – Fall/Winter 2019
Modern Caveman – Man Builds A $230,000 House In 700-Year-Old Cave
Crazy – Gnarls Barkley – On The Street Funk cover feat. Dannielle DeAndrea!
Watch This Caterpillar Turn Into A Puss Moth
Portland’s rotating skinny house follows the sun like a sunflower