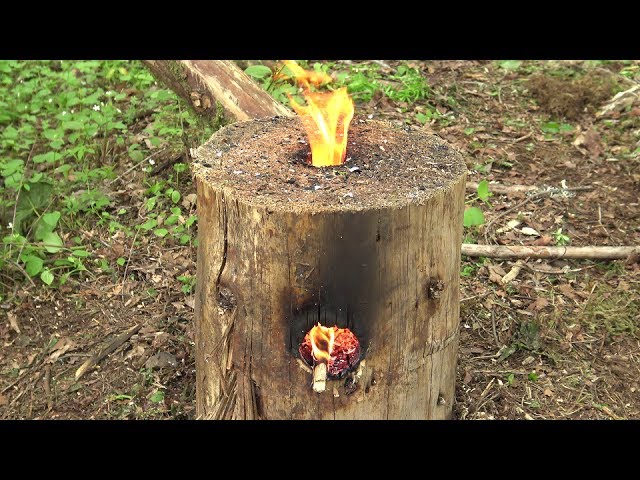
Using the scotch eyed auger to improvise a rocket stove and then testing that stove in the field.
This is a video that every real outdoorsman will love.
What are the benefits of using a Wooden Rocket Stove for heating and cooking?
Wooden Rocket Stoves are an economical and environmentally friendly way to provide heat and cook food. These stoves use small pieces of wood, burn them slowly and efficiently, and can maintain a high temperature for long periods. The design of the stove allows for smoke and ash to exit through a chimney, leaving your cooking area cleaner and healthier than traditional grilling or cooking methods. Here is a step by step guide for constructing your very own homemade wooden rocket stove.
Materials:
– 4 cinder blocks (8x8x16 inches)
– 8 fire bricks (4.5x9x2.5 inches)
– 1 metal grate (grill grate or oven grate)
– Lava rock or firebrick pieces
– Hood or chimney pipe (6-inch steel pipe, galvanized metal chimney pipe, or clay chimney flue)
– 4 pieces of stainless steel L-shaped metal brackets
– 4 2×4 inch strips of plywood or lumber (depending on the size of your cinder blocks)
– Screwdriver and screws
– Saw (optional depending on the size of your cinder blocks)
Instructions:
1. Begin by clearing the area where you will be constructing the rocket stove. It is important to create a flat surface to ensure that the stove is level and sturdy.
2. Place two cinder blocks parallel to each other, roughly 1.5 feet apart. This will serve as the base of your stove.
3. Take two strips of plywood or lumber and attach them to the top of the two cinder blocks to create a flat surface for the firebricks to sit on. Attach them horizontally so that they are perpendicular to the cinder blocks using the metal brackets and screws.
4. Place four firebricks on top of the plywood or lumber strips, placing them in pairs parallel to each other, leaving a small gap (less than an inch) between them.
5. Arrange lava rock or firebrick pieces on top of the firebricks, filling in the gaps and creating a level surface.
6. Place the grill or oven grate over the firebricks, ensuring that it is level and stable.
7. To construct the chimney or hood of the stove, place the two remaining cinder blocks on top of the grate, leaving a small gap between them for the chimney pipe to pass through.
8. Place the chimney pipe onto the cinder blocks, extending it to the desired height. It is recommended that the chimney pipe extends several feet above the height of your stove to ensure proper ventilation.
9. The rocket stove is now complete! Test it out by starting a small fire using small pieces of wood, twigs, or other available materials.
In conclusion, constructing a Wooden Rocket Stove is a simple and rewarding process that can provide a sustainable and efficient solution for heating and cooking. The materials required are easily sourced and relatively inexpensive, making it an accessible project for people of all skill levels. By following these steps and exercising caution when using the stove, you can create a functional and durable appliance that is both cost-effective and environmentally friendly.


70’s Fashion Trends We’re Still Wearing in 2021
Real Life on a Remote Island ????️ || Palmerston Cook Islands – Population 35
Former judge Leticia Astacio sentenced to 180 days in jail
Raw Run || 70 mph in Switzerland
100 Years of Controversial Fashion | Glamour